Skiing 101: Everything You Need To Know If You’re Hitting The Aussie Slopes For The First Time
Bianca is a journalist who spends all her money on…
With many Australians never having seen snow, let alone strapping into a pair of ski boots on the regular, it’s really no wonder the idea of a ski weekend can send us into a cold sweat.
As someone who has been skiing since the tender age of four — and having tackled black runs from Whistler to Niseko and beyond — I’m here as your foolproof guide to the local slopes this season.
Whether you’re headed to Perisher, Buller or beyond, Australia has some excellent ski options, and this is what you should know before you go.
Skiing Or Snowboarding?
For the true newbies, the first decision you’ll have to make is whether you’re a skier or a snowboarder.
Although it might not seem like it from afar, skiing is much easier to learn – I’ve been able to teach someone to competently take on easy runs in half a day. That being said, I’d also say skiing is harder to master in the long term – as you approach the more advanced runs, things can get a little hairy.
Snowboarding, on the other hand, is probably harder to learn in the short term but once you’ve got it down it’s easier to scale up quickly.
So, if your plan is to casually drop in and out of the snowfields every few years for short visits, sticking to the easier runs purely for the enjoyment of it, I’d suggest skiing. You’ll be up and about much faster.
Accommodation Options
No matter where in Australia you’re heading, there are three main accommodation options: Off-mountain, on-mountain, and ski-in / ski-out.
Off-mountain is basically accommodation at the base of the mountain, meaning you’ll have to drive up and park at the ski field every day. Keep in mind that it usually takes between 30 and 60 minutes to commute to the day car parks.
On-mountain means you’ll be staying within the ski village, and can usually walk or shuttle to both the amenities and chair lifts, without a commute. Ski-in / ski-out chalets and hotels are situated right on the runs, so you’ll be able to strap your skis on at the door and swish off without a thought.
Generally, the closer to the run you are, the more expensive the accommodation. For an apartment you can share with friends or family, On-mountain accommodation can vary wildly from $150-$600 per night, while ski-in/ski-out usually sits around the $1,000-$3,000 mark.
The main thing to remember is that if you stay off-mountain, you must research car park passes, how often the shuttle goes, how heavy your gear is to carry on and off busses, and the total amount of time it will take you to get from your front door to the ski lift. And always remember: off mountain = no après cocktails for the designated driver.
In a post-Covid world, look for flexible Covid cancellation policies – for example, Airbnb isn’t generally very good for last-minute changes due to travel restrictions.
Organising Your Gear And Passes
There’s a lot of admin involved in a ski trip. Generally, it’s advisable to purchase everything ahead of time as things like ski lessons, lift passes, shuttle tickets and car park passes are often limited.
Personally, I always hire any ski gear I need the night before I hit the slopes — and I generally do it off-mountain as the prices are usually cheaper.
Fitting ski gear always takes longer than you expect, so by doing it all the day before you can make sure it won’t eat into your valuable ski time. Take your time in the store to really make sure the ski boots are comfortable and your poles are the right height – you won’t be able to change them later. On arrival, hire staff should also be able to advise you if you’ll need chains for your car.
A safety note: don’t decline a helmet. Skiing and snowboarding falls are no joke, and injuries to the head are very serious. You don’t look more cool or professional without one – in fact, these days the more advanced the skier, the more likely they are to wear excellent protection.
Packing Essentials
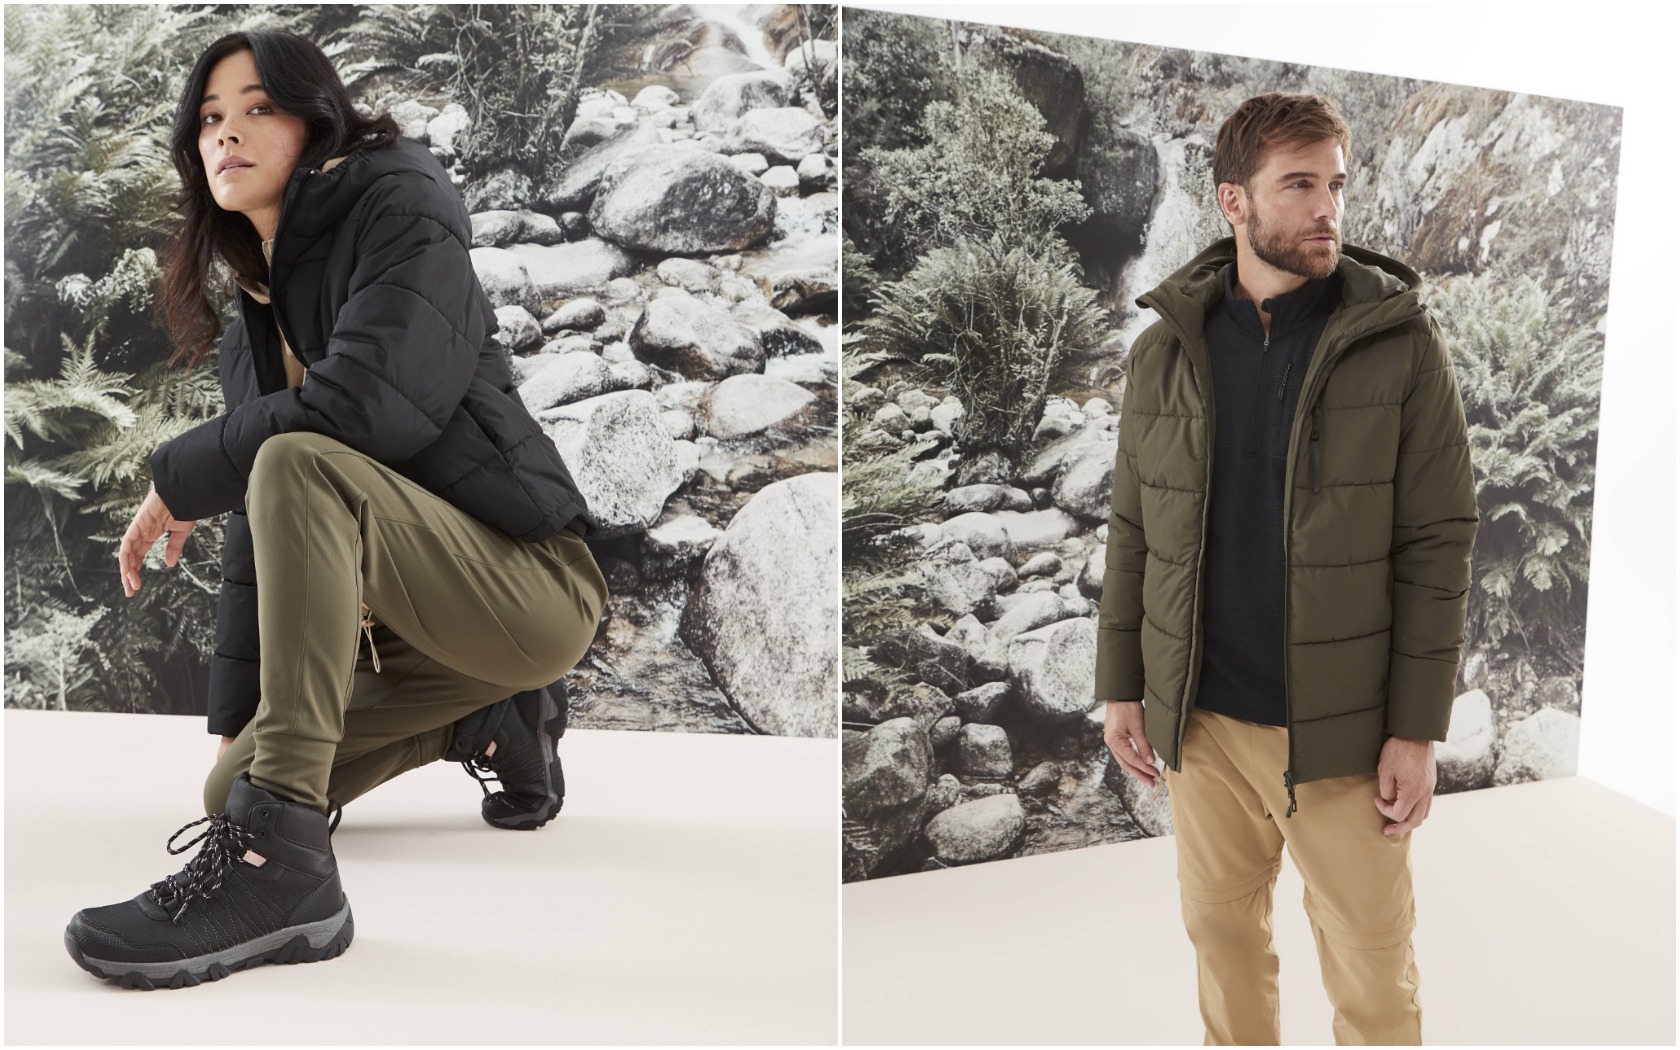
Wondering what to pack? If you don’t have ski clothing and you’re not planning on hiring any, you can save money by packing suitable ‘normal’ clothing instead.
Choose breathable, warm fabrics that wick away moisture as your base layer, with a waterproof or water-resistant layer on top. That goes for gloves too – proper ski gloves are waterproofed for a reason. This may come as a surprise, but snow melts, and you’ll be soaking wet without good waterproofing.
I generally operate by the onion rule: lots of layers means you can adjust your clothing on-mountain, as you fluctuate between feeling too cold or too warm. Thermals are good for layering under clothing to keep you warm, both when skiing and après-ing.
Thick socks are an essential buffer against stiff hired ski boots so make sure you bring at least one pair per day. They’re likely to get soaked and completely drying your clothing overnight can present a challenge in minus zero weather conditions.
When it comes to walking around outside your ski time, you’ll still need appropriate snow gear, especially shoes. Gumboots or sneakers will NOT do the trick.
Gumboots will absorb the icy cold and leave you prone to frostbite (no matter how many layers of socks you bring). Sneakers will render your feet frozen and soaking wet. Instead, invest in a cheap pair of après boots from a sports store, hire a pair, or try water-resistant hiking shoes instead.
finally, don’t forget your sunscreen. The reflection from the snow acts the same as it does on water and you’ll find yourself burning quickly on a sunny day. Those goggle-outline face burns just aren’t cute.
When You Arrive
Most ski resorts have a base village where you can purchase quick grocery items (like water and snacks), as well as limited ski gear (like gloves, beanies and scarves).
Here you’ll likely find coin-operated lockers, information on runs and chair lifts, and limited cafes, bars and restaurants. Some resorts have great après options for those not skiing – including a day spa, toboggan hire, or sightseeing chair lifts to the top of the mountain.
Get your bearings, drop anything non-essential in a locker, and organise a meeting point with your group in case you get lost. Also, familiarise yourself with emergency procedures and pre-program the number for ski rescue into your phone.
Hacks And Tips
Finally, here are a few quick hacks I’ve learned over my many years on the slopes to help make your trip fuss-free.
#1 Pack a roll of masking tape
Not only is it a good option for patching ripped waterproof clothing, but it also acts as a sticker label for your skis. Hiring a pair of skis that look like everyone else’s means they’re almost impossible to find after you’ve left them in the stands to venture indoors. Write your name on a length of masking tape, and wrap it around skis, poles and boots for easy identification.
#2 Bring ziplock bags
They’re great for your phone, cash and cards while you ski. Pop the zip lock bag in your pocket and nothing will get wet.
#3 Keep your lift pass somewhere easily accessible
Place your lift pass somewhere that makes it easy to scan through the machines at the ski lifts, which tend to be located at arm height.
You can either strap your lift pass to your arm with an armband, or zip it into the side pocket that lines up with the machine – that way you don’t have to take your gloves off, or paw through your pocket, every time you enter a lift. Make sure it’s kept on its own, away from other cards, so the machine can read it easily.
#4 Arrive early
Fresh snow is much more enjoyable to ski on than mushy, carved-out, busy runs in the afternoon. Enjoy!
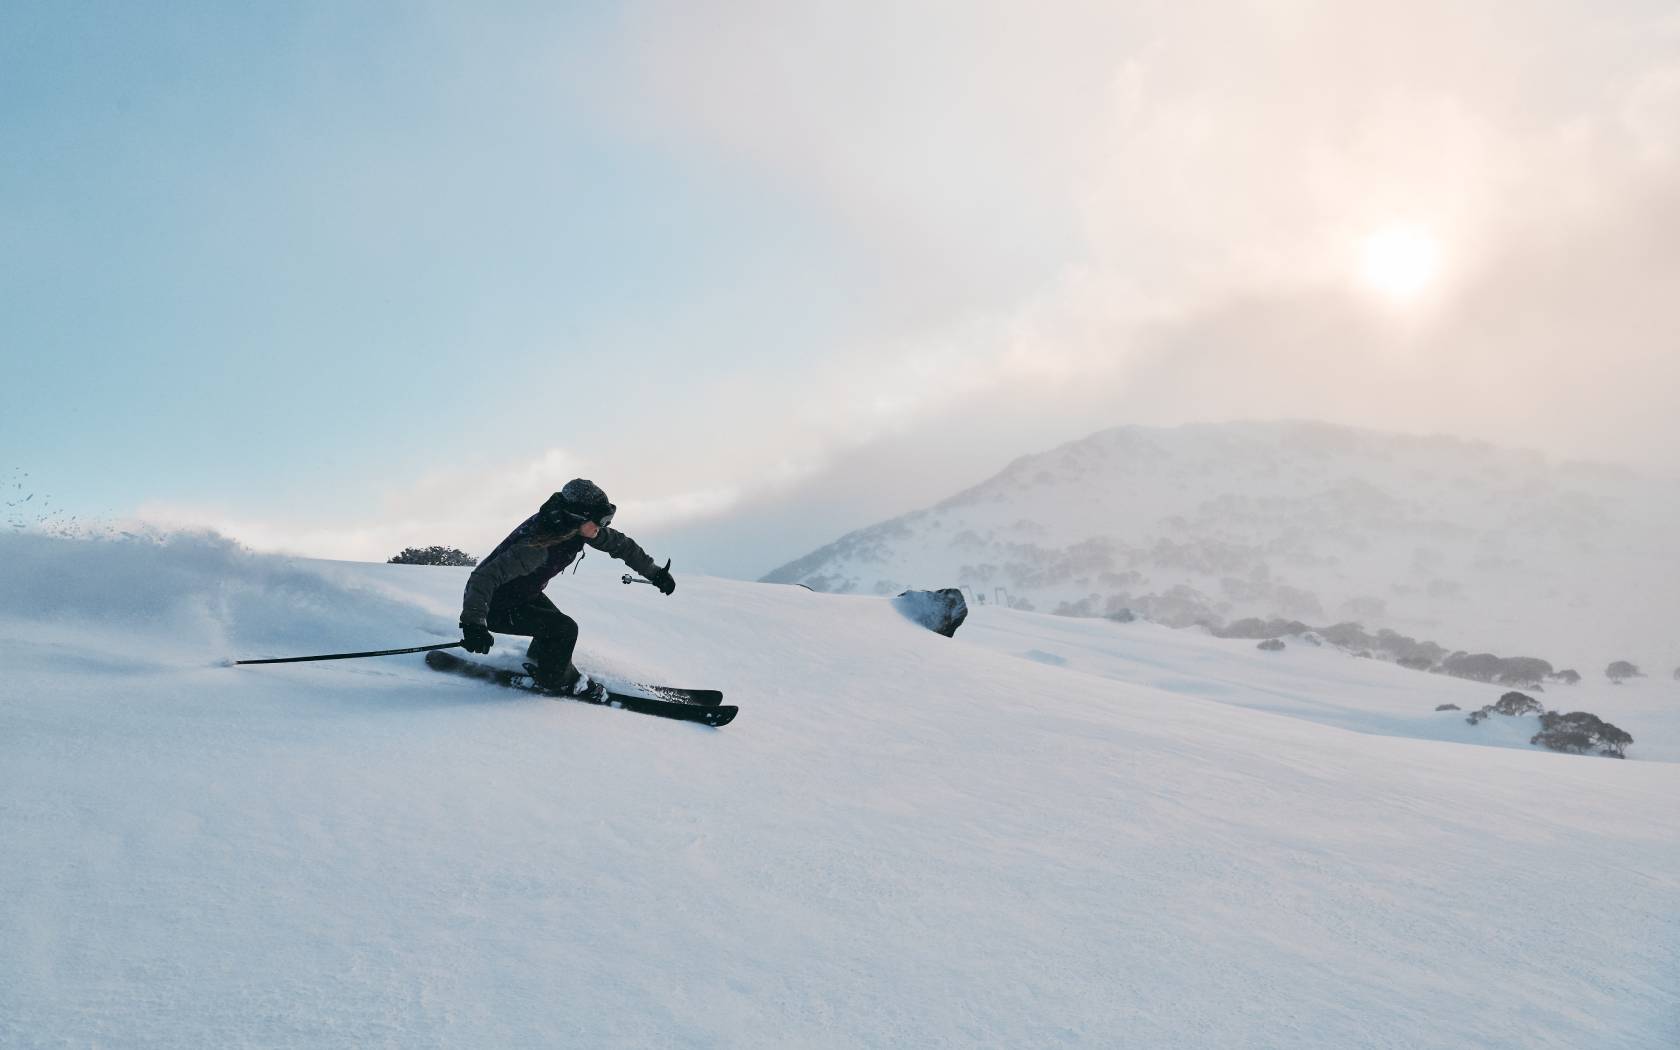
(Lead image: Destination NSW)
Bianca is a journalist who spends all her money on travelling the world instead of on sensible things like food and a mortgage. She considers herself a Bangkok specialist, so if you’re looking for insider tips hit her up on Insta @travel.listed.


