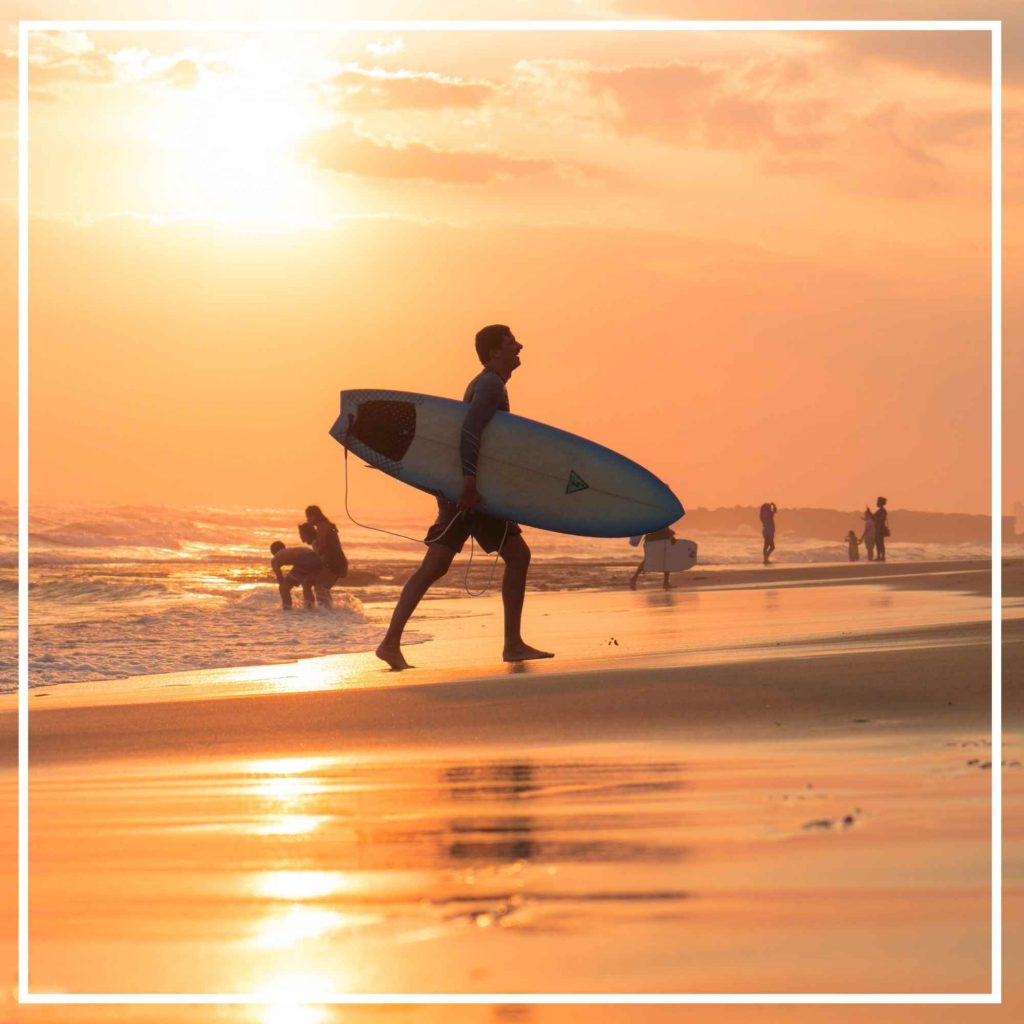
7 Tips For Making Your Travel Photos Look Next Level

Creating beautiful images that stand out isn’t as hard as you might think. With a little creativity, some beautiful light and an eye for detail, you can take photographs that will make your social feeds (and those of your friends) light up.
From creative techniques for composing shots to some easy camera settings for boosting vibrancy, take a peek these seven tips for improving your travel photos.
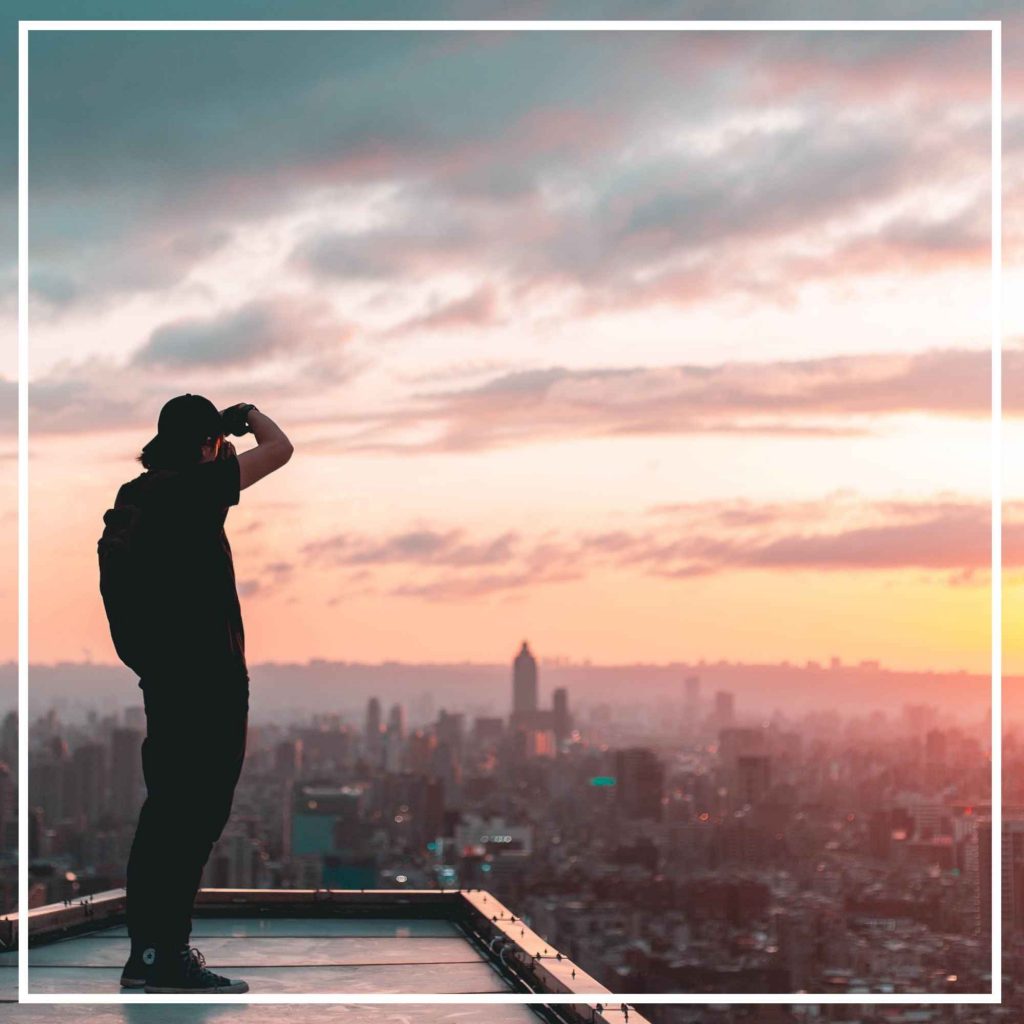
#1 Golden Hour
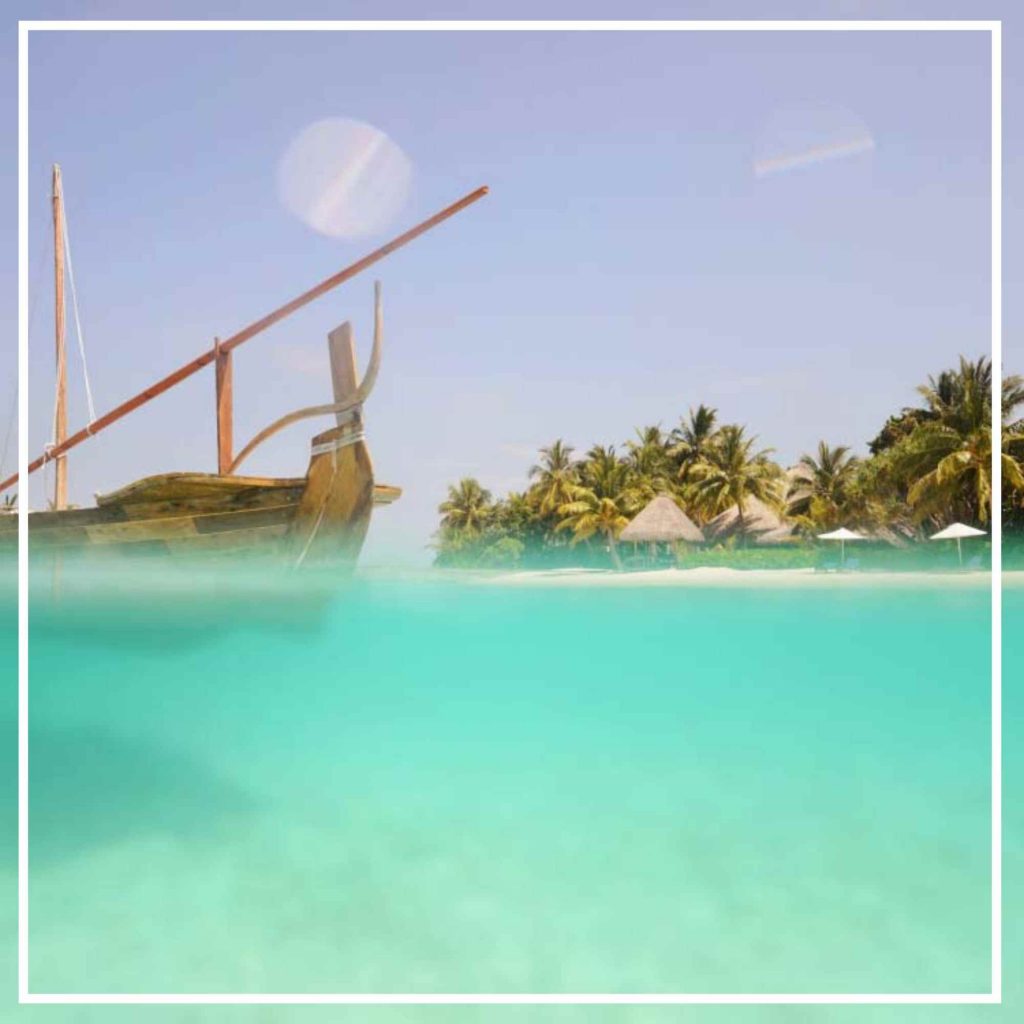
Taking photos during “golden hour” goes a long way towards giving your images an extra special pop. The hours that includes the thirty minutes before and after sunrise and sunset, golden hour is coveted for its warm tones, glowing light and an atmosphere that does most of the work for you.
Always research your destination before arriving to know which vantage points face west and therefore be best for taking photos during golden hour. If you’re hoping to capture the gorgeous pink and purple tones of dusk, face the opposite way and you’ll see the sky slowly work its magic.
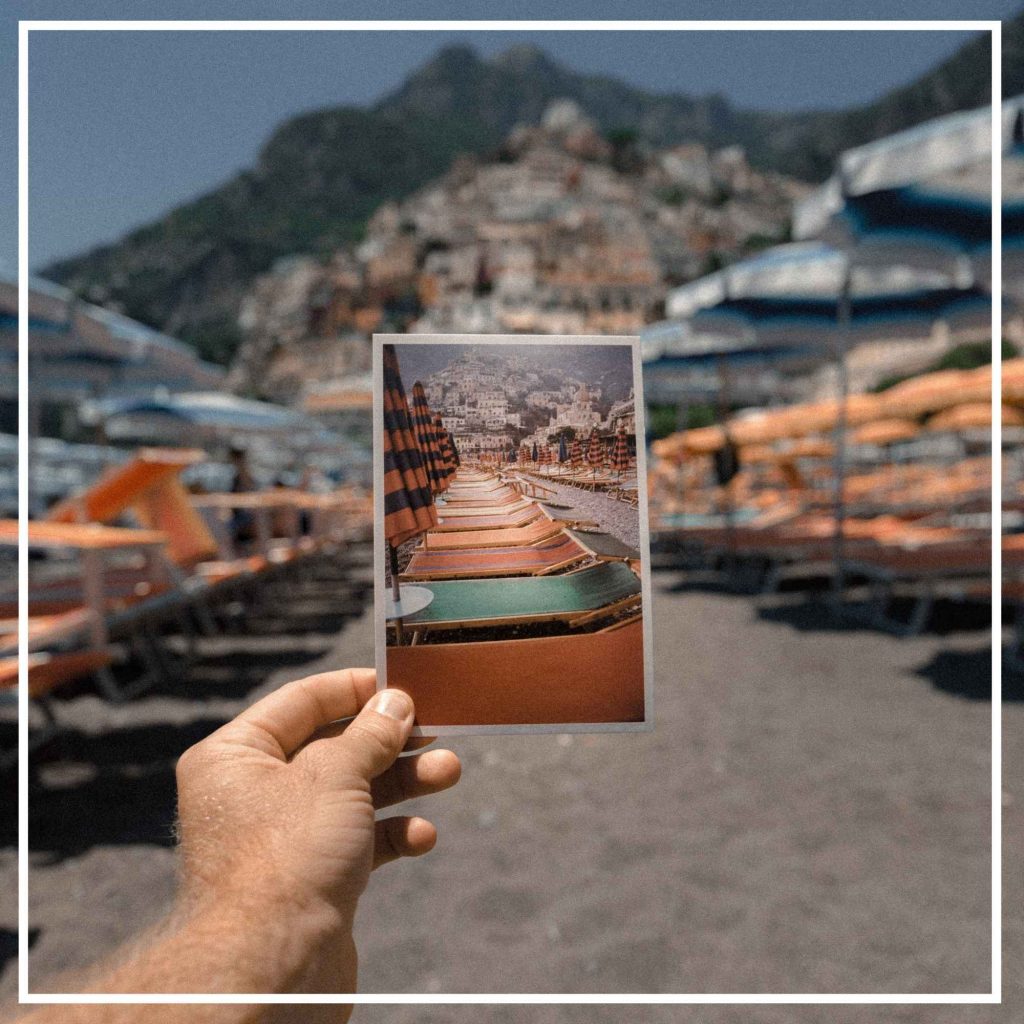
#2 Creative Composition

To capture a unique perspective of a popular destination, you need to get creative with your composition. Composition is all about how you make the subjects in your image line up. You can use the rule of thirds or ignore the rules and go your own way. It’s all about deciding where to place the subject, whether that’s a person, building or an entire landscape.
Looking for ways you can creatively compose your image will also help you to identify details you might never have seen otherwise. Things like leading lines that point towards a subject, patterns within the landscape or details you can use to change up the foreground of your image and frame it.
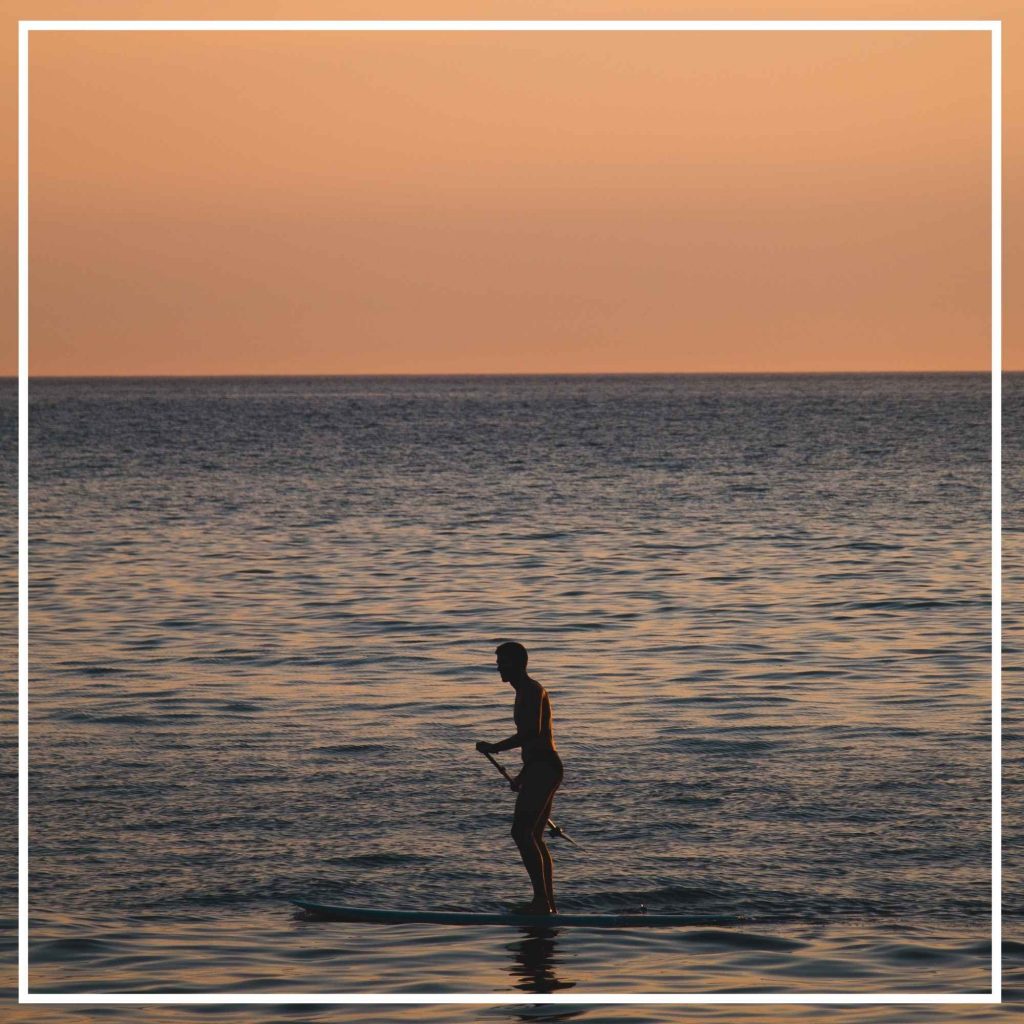
#3 New Angles
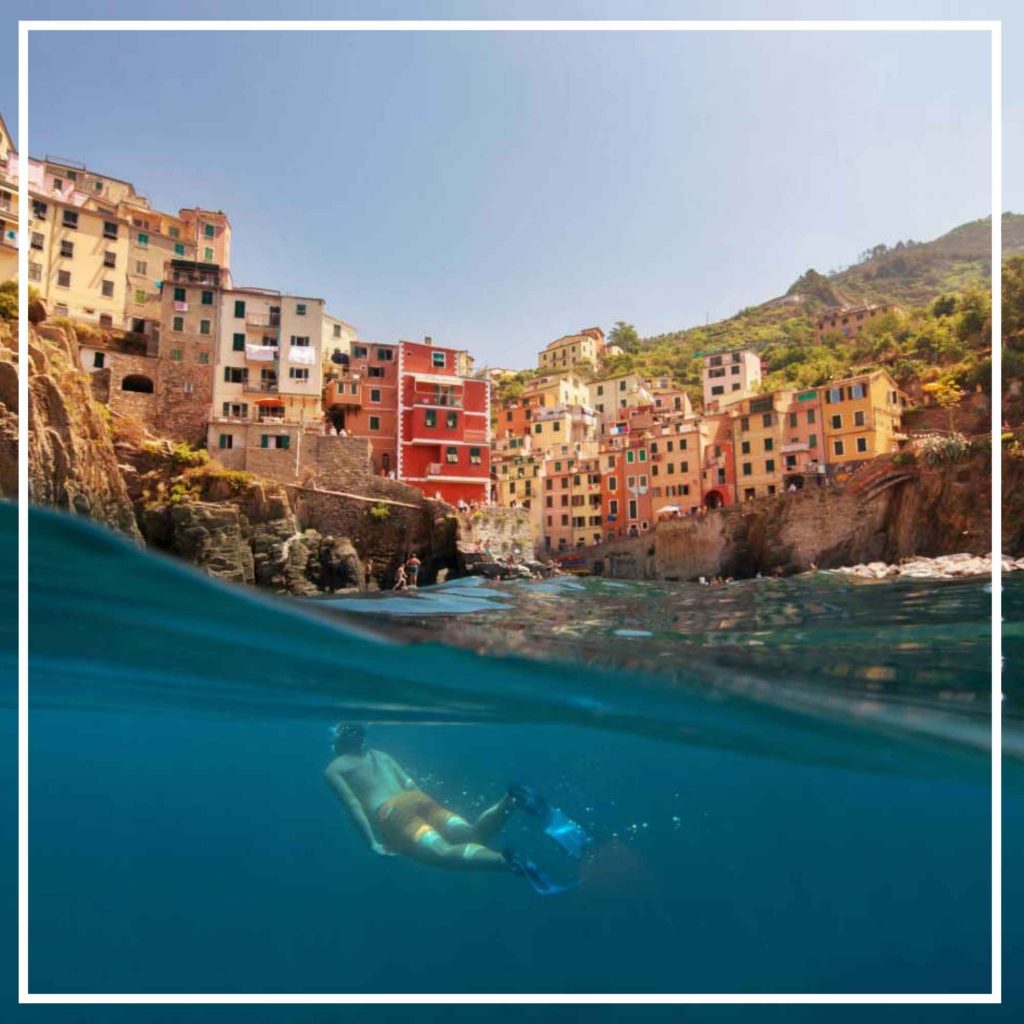
Places like the Eiffel Tower, Sydney Harbour Bridge or London’s Big Ben have been photographed millions, if not billions, of times. To stand out and make your photos look a little more professional than others, seek to find a new angle that will showcase the same scene from a new perspective.
It doesn’t have to be mean climbing fences, getting arrested or being that crazed photographer leaning out over bridges. It’s just about looking at a scene with fresh eyes.
You can look for reflections in puddles, pavements or even your phone screen. If reflections don’t exist, you can always make your own by spilling some water on a shiny surface! A good way of testing this is to stand in one place and look in every direction. Look up, down and so on while keeping an eye out for fresh angles as you do it.
#4 White Balance

Most cameras will have the ability to change between auto, daylight, cloudy, shaded, fluorescent and so on. By adjusting your white balance, you’ll immediately see results in your colour tones and can choose a white balance based on the outcome you’re looking to achieve.
For beautiful, warm images, switch your white balance to cloudy. This also works brilliantly in green areas like shaded rainforests to make the colours more vibrant.
#5 Straight Horizons
You’ll rarely see a professional photographer capturing a crooked horizon. Sometimes it can feel creative to simply tilt your camera and turn the world on its side, but it’s best to avoid this style as it can end up looking like you were leaning to one side instead.
#6 Think Before You Publish
Rather than just posting every image you took on holiday, act like your own gallery curator and only share a collection of the best. Have you taken the time to tweak or edit your photo a little? Is the horizon wonky? Are people blinking?
Taking a moment to curate before clicking “publish” can be the difference between people looking at your photos and scrolling right past.
#7 Edit, Edit, Edit
The words Photoshop and Lightroom can be a little intimidating to most, but there are some quick and easy effects worth learning.
Pressing Ctrl+M will open your ‘Curves’ tool, which allows you to switch between colour modes and play around with the brightness, darkness, highlights, colours and much more. It’s one of the most powerful tools on Photoshop and actually quite simple to use once you have a go.
Another popular way to edit your photos is via presets. People release and sell their own presets on social media or, alternatively, you can make your own in Lightroom. Saving your own preset means you can simply click one button and all your images will be edited in exactly the same way. Magic!
Lisa Michele Burns is a professional photographer. See her work at The Wandering Lens.
This post was originally published on February 9th, 2018 and has since been updated.

